Select nodes, models, and node types
On the Models & Node Selections page of the Transfer to Financial Planning utility, select the nodes to include, the models to save data to, and the node types.
Step 9: Select nodes, models, and node types
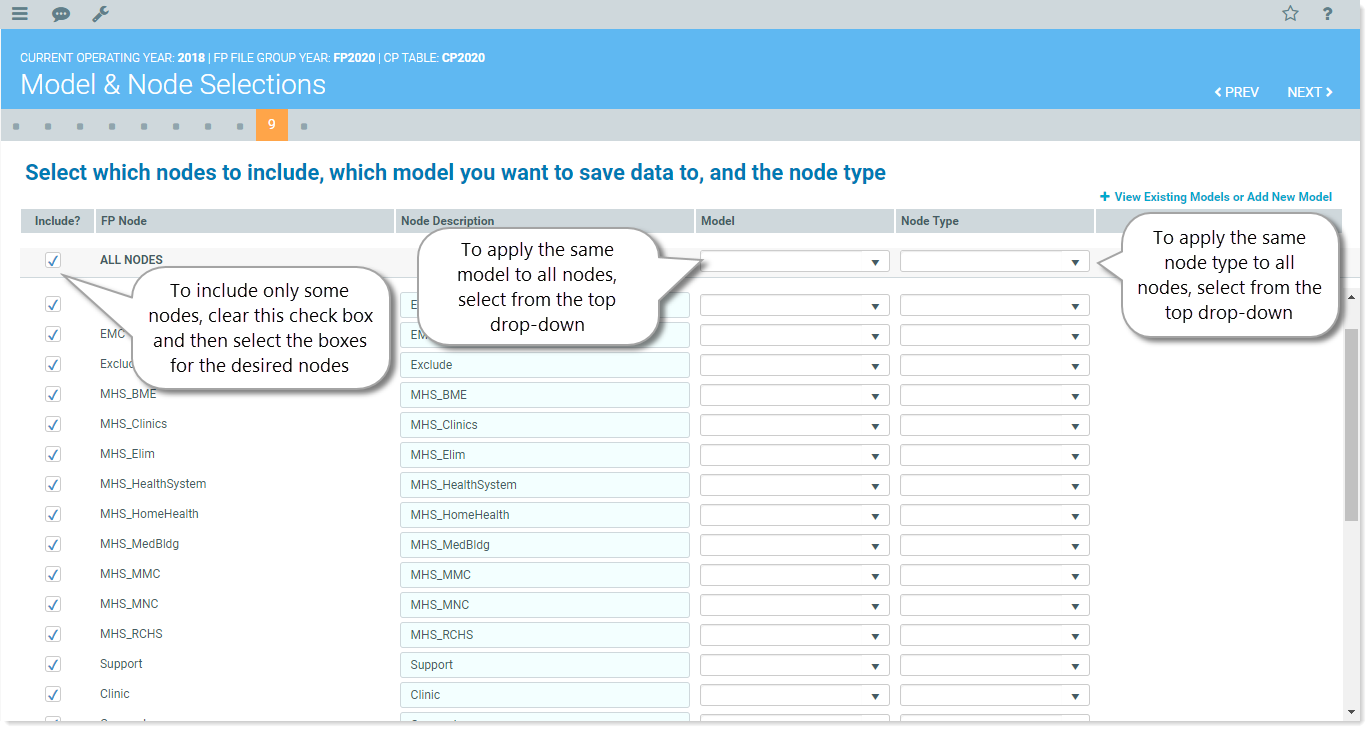
- On the Model & Node Selections page of the utility, select the nodes to include in the transfer. In the Include? column, all nodes are selected by default. Do one of the following:
To include all nodes, leave the ALL NODES checkbox selected.
NOTE: Selecting the All Nodes check box is the equivalent of checking all the boxes in the column.
- To include only some nodes, clear the check boxes for any nodes you do not want included.
- To change a node description, make changes directly in the Node Description column fields.
- In the Model column, do one of the following:
To apply the same model to all nodes, in the top drop-down, select the desired model. The selected model name is copied to the Model field for all nodes.
- To apply different models to different nodes, select from the corresponding drop-down for each listed node.
- To view a list of existing models, just above the table on the right, click the View Existing Models or Add New Model link. A table of existing models opens. If you do not see the model you want, you can add a new model from this dialog.
- In the Node Type column, do one of the following:
- To apply the same node type to all nodes, in the top drop-down, select the desired node type.
- To apply different node types, select from the corresponding drop-down for each listed node.
- When finished, click NEXT.
Continue to Review and submit the transfer.
